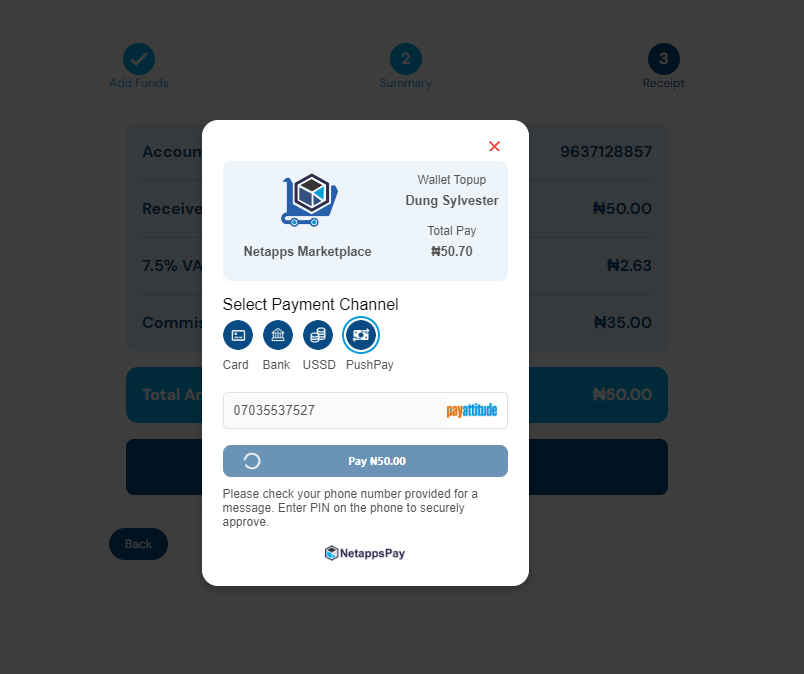
Payment Link
A payment Link is an easy way to receive payments. We offer various forms of payment links, such as single payments, donations, subscription payments, etc. Merchants can create these payment links on the merchant portal or with an API provided by us. The following describes how to set up a payment link:
How it works
- Call our "payment link API" from your server with the details of the payment.
- We will return a response with a payment link to a payment page. Do a redirect to the link for your customers to make payments.
- When the payment is complete, the customer will be redirected to you with the payment response.
Step one: Collect Payment Details
The first step is to collect the payment details. The needed information is:
-
The
payTypesignifies the form of payment link you want to create. -
The
titleis the designated name of the payment link -
The
descis the description of the payment link -
The
amountis the amount the customer is to pay. In this case, we're hard-coding it, but you could also dynamically get it from your server or client-side JavaScript. -
The
currencyis the currency the amount is in. Netapps supports over a hundred different currencies, so be sure to specify the currency you mean. -
The
redirect_urlfield (optional) is the URL we'll redirect to on your site after the payment is done. Alternatively, you can specify a callback function. See the redirects and callbacks section. -
The
adddedInfois the list of additional information you want to fill in -
payment_plan(optional): This is the payment plan ID (for collecting a recurring payment)
Step two: Initialise the payment
The subsequent step involves calling our API to commence the payment process using the gathered details (please ensure proper authorization with your secret key).
curl --location --request POST 'https://pay.netapps.ng/pg/api/v1/paylink/create' \
  --header 'Authorization: Bearer 4c219509e1ad4629823a91255bd7b477' \
  --header 'Content-Type: application/json' \
  --data-raw '{
      "currency":"NGN/USD",
      "amount":2000,
      "payType":"SINGLE",
      "title":"One Time Payment",
      "desc":"sadaà",
      "redirectUrl":"http://custome.com",
      "addedInfo":["address", "gender"]
  }'
Response
This is the success response you will get
{
  "status": "SUCCESS",
  "message": "Payment Link",
  "link": "https://pay.netapps.ng/pg/hosted/34db7c60-ef93-4b78-aaba-5b5a5e4c28f5",
  "amount": null,
  "currency": null,
  "txRef": "34db7c60-ef93-4b78-aaba-5b5a5e4c28f5",
  "code": "Single payment",
  "coded": null,
  "name": null,
  "logo": null,
  "dataList": null,
  "data": null,
  "success": null,
  "statusCode": null,
  "processRef": null,
  "isPending": null,
  "customerName": null,
  "customerEmail": null,
  "payChanList": null,
  "test": false,
  "banks": null,
  "businessImage": null,
  "extraMessage": null,
  "processCode": null,
  "tx": null,
  "pinRequired": null,
  "cardList": null,
  "cardId": null,
  "queryLimit": null,
  "intervalLimit": null,
  "xapiKey": null
}
Step three: Redirect the user to the payment link
The following step explains how to redirect the consumers to the returned URL in 'data.link', after which our checkout modal will be provided for them to complete the purchase.

Step four: Post payment
Upon the successful completion of a transaction or payment, the following events ensue
- The transaction redirects your
redirect_urlwith the following query parameters:status,tx_ref, andtransaction_idwhen payment is complete. - A webhook will be sent, that is if you have that enabled. You can check more on webhook here with examples.
- We'll send an email receipt to your customer if the payment was successful (unless you've disabled that).
Note
Based on ISO-85 standard, the amount should be in the lower denomination of the supported currency i.e. for USD50 the figure should be 5000.
Updated almost 2 years ago
